
How to Deploy a MERN Application to AWS Amazon EC2 Instance Ubuntu 24.04
Learn how to Deploy a MERN Stack Application to an AWS Amazon EC2 instance and set up a production-ready web server MERN Application on the AWS Amazon EC2 ubuntu 24.04 service.
Deploy MERN Application on AWS EC2 on Ubuntu 24.04
Learn how to Deploy a MERN Stack Application to an AWS Amazon EC2 instance and set up a production-ready web server MERN Application on the AWS Amazon EC2 ubuntu 24.04 service.
This page explains how to create a fully functional MERN stack web application on an Amazon EC2 instance (Elastic Compute Cloud) and then deploy a customized MERN stack application that allows user registration and authentication on the Ubuntu 24.04 AWS EC2 instance.
What is the full form of MERN Stack and explain how it works?
A MERN Stack framework consists of a React front-end project that communicates with a Node.js + Express + MongoDB backend API, hence the name (MongoDB, Express, React, Node). In addition, we can employ the MEAN Stack, which uses an Angular front-end, and the MEVN Stack, which uses Vue.js, both of which are full-stack development.
Steps to cover to deploy the MERN application to deploy on Ubuntu 24.04
- Launch a new Ubuntu server on AWS EC2.
- Connect to the Ubuntu EC2 instance via SSH
- Cloning projects under the Ubuntu 24.04 OS in Amazon EC2
- Set up a server with Node.js and MongoDB in Amazon EC2. Ubuntu 24.04 Server
- Set up and install all of the packages in the clone project in EC2.
- Change the proxy server in the server. Install PM2 on the Ubuntu server and run it on the server and client in AWS EC2.
- Try the MERN Stack app in a browser.
1. Launch a new Ubuntu server on AWS EC2.
Before we do anything further, we'll need a server to work on. Follow these steps to create a new Ubuntu 20.04 server instance on AWS EC2.
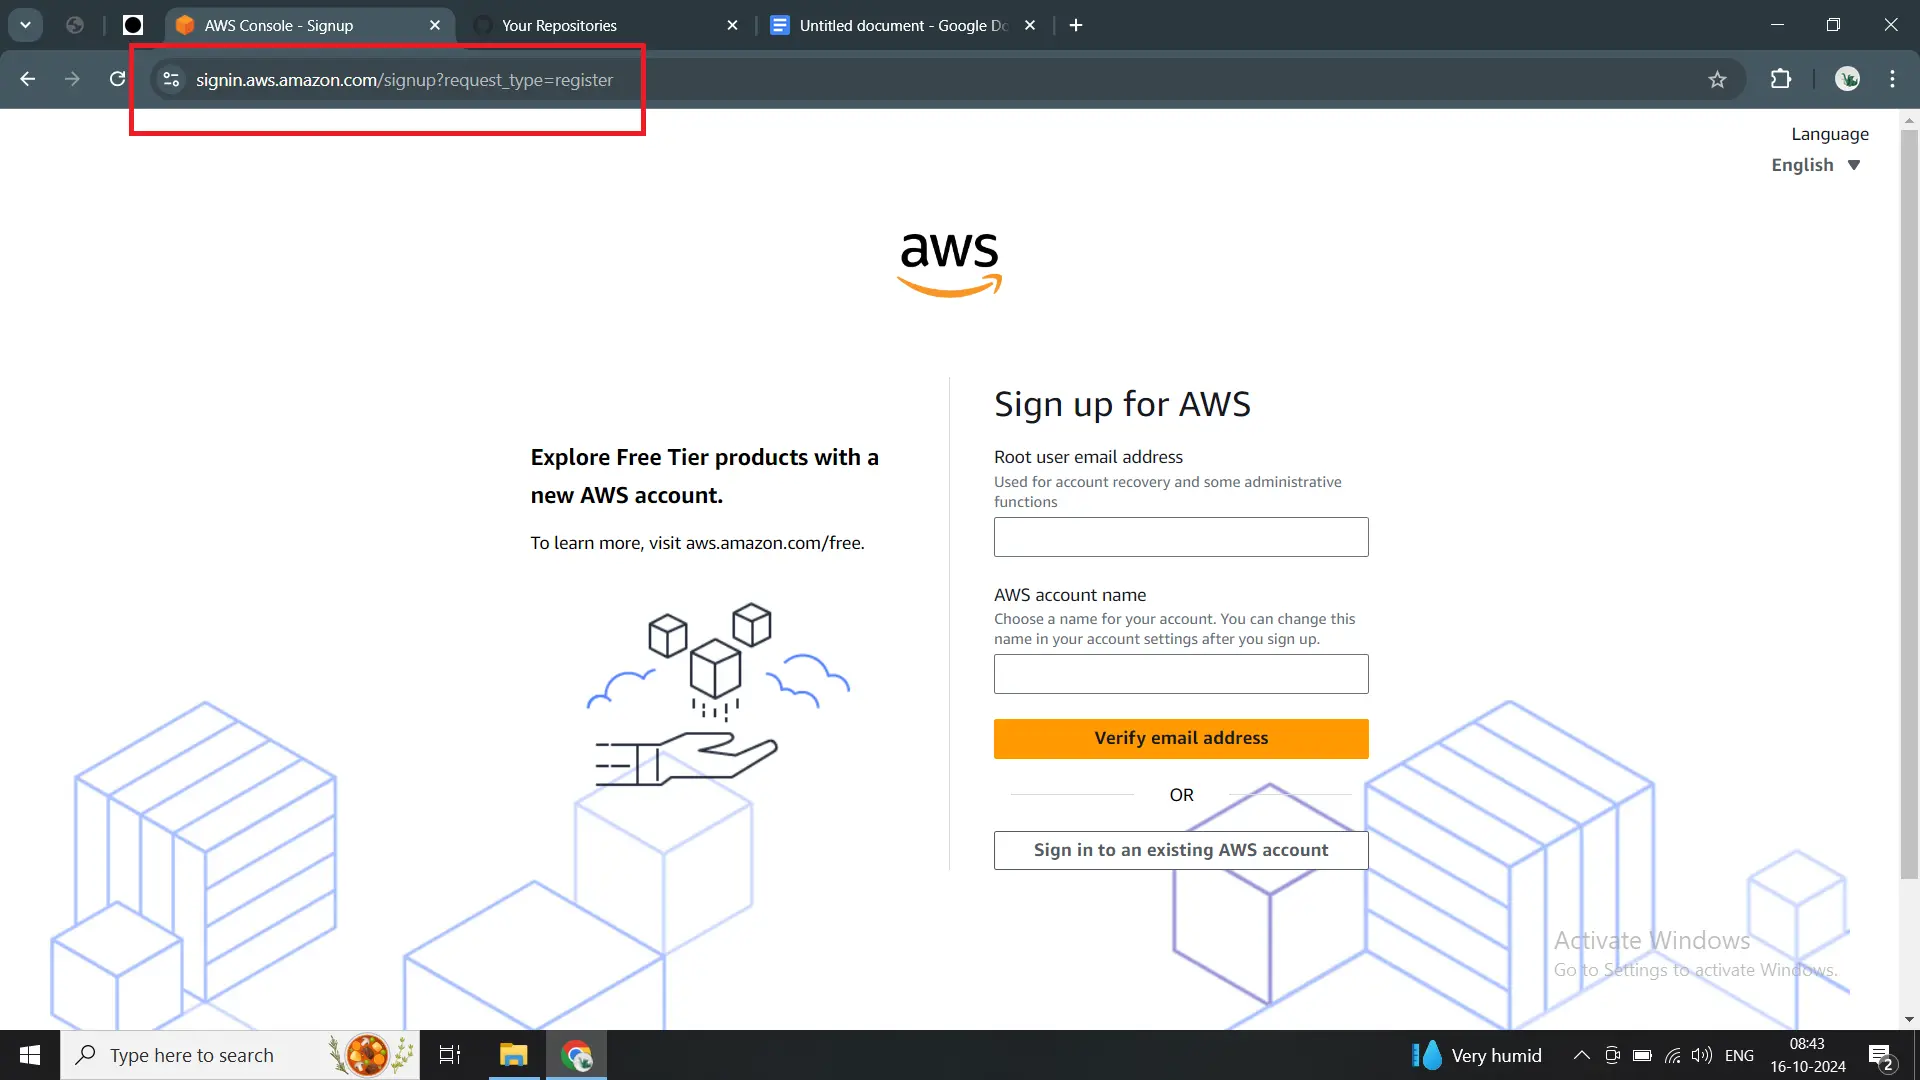
Log into the AWS Management Console at https://aws.amazon.com/console/. If you don't already have an account, click the "Create a Free Account" button and follow the directions.
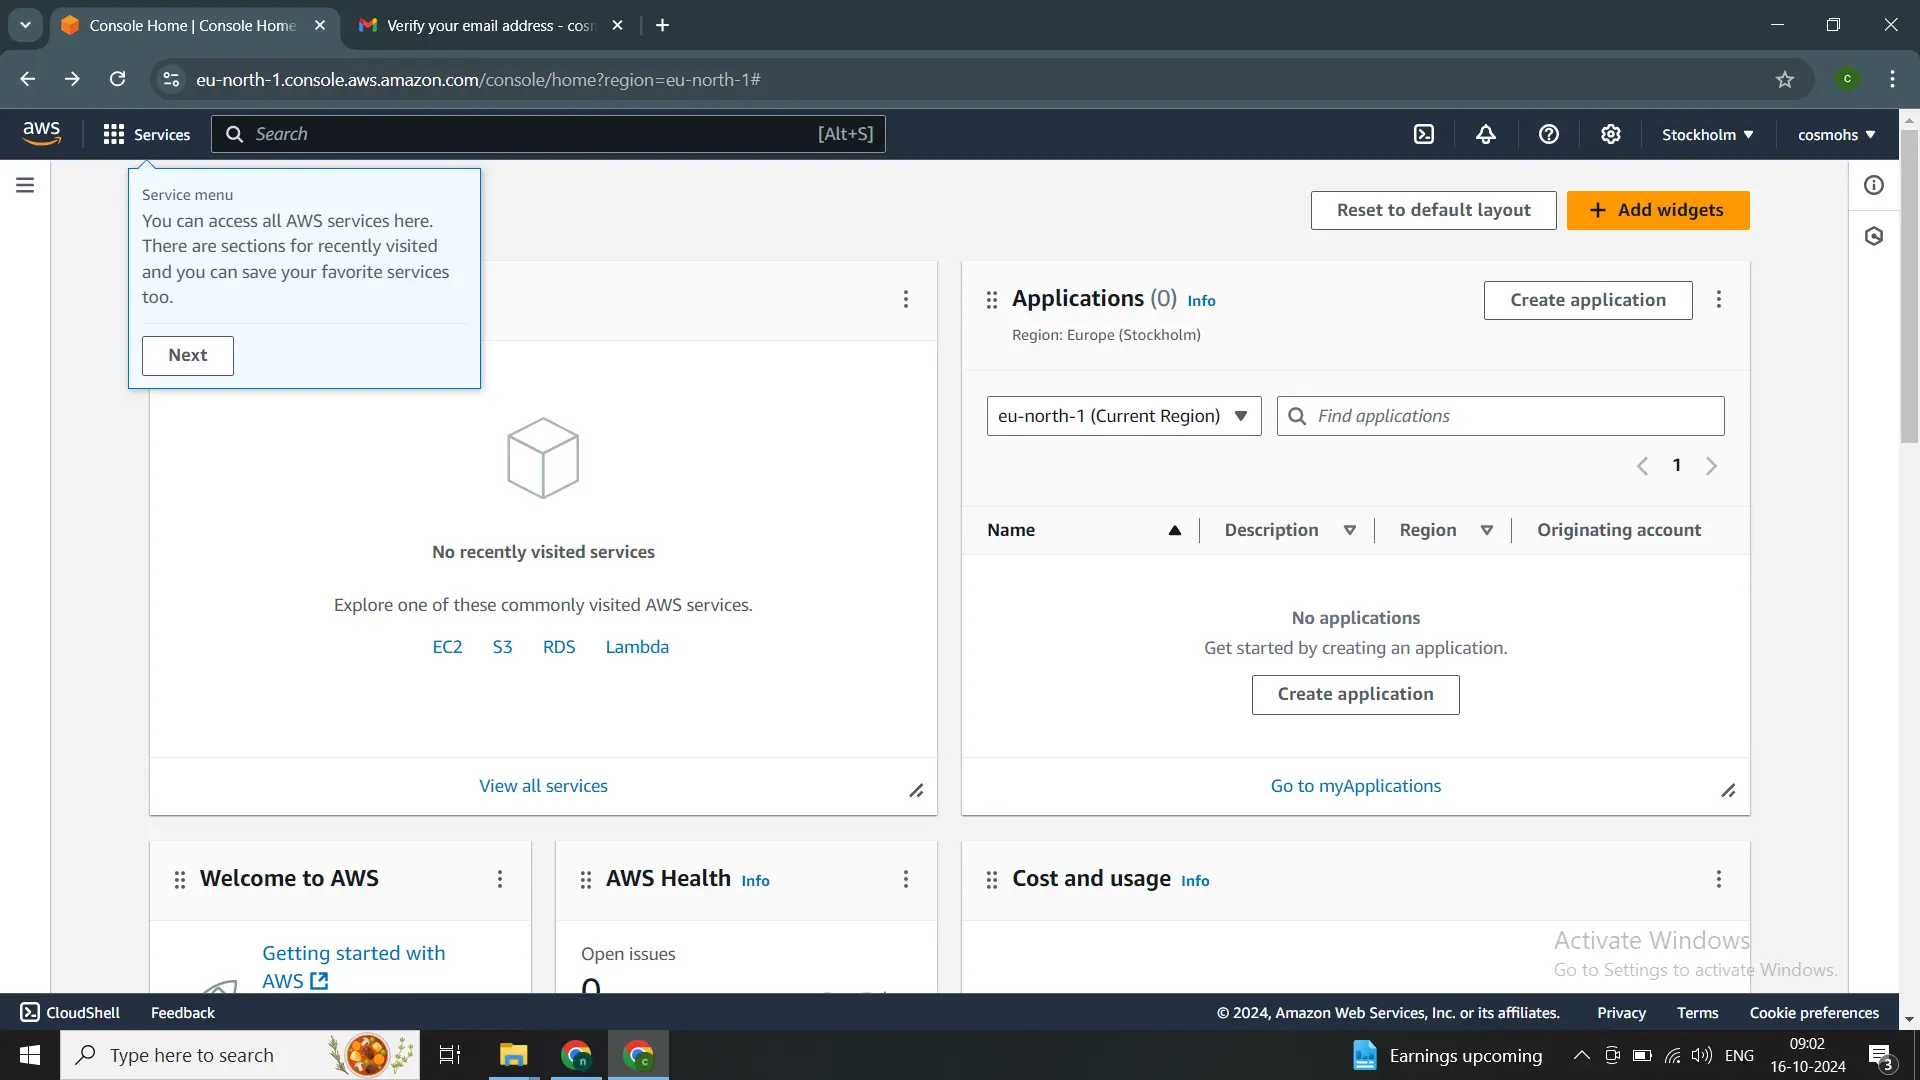
Once registration is complete, you will see a dashboard page listing all the AWS services.
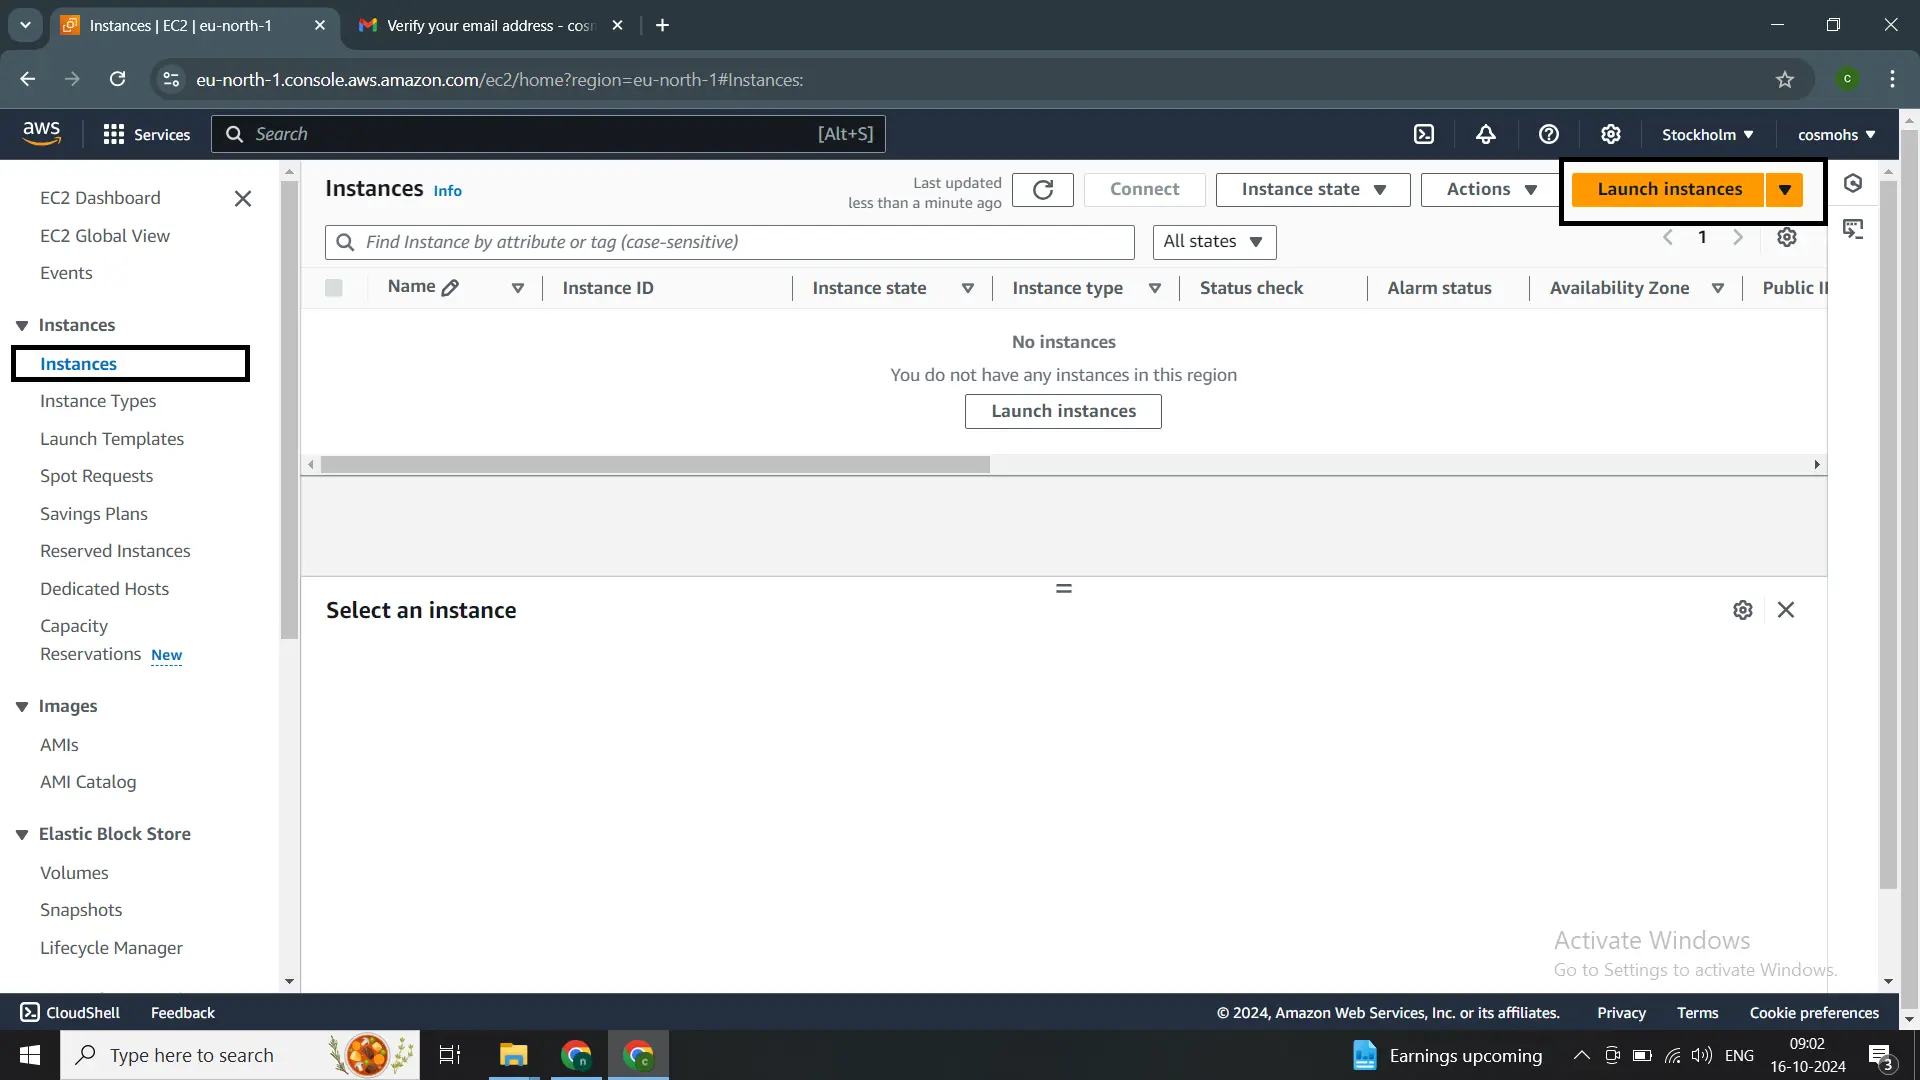
Now click on EC2 to navigate to the EC2 dashboard. Then, select "Instances" from the menu and click the "Launch Instance" button as shown in the image below.
After launching an instance, select Ubuntu 24.04 and choose the required options such as Amazon Machine Image (AMI), Amazon architecture, and AWS instance type. Additionally, generate a new key pair during the instance launch process.
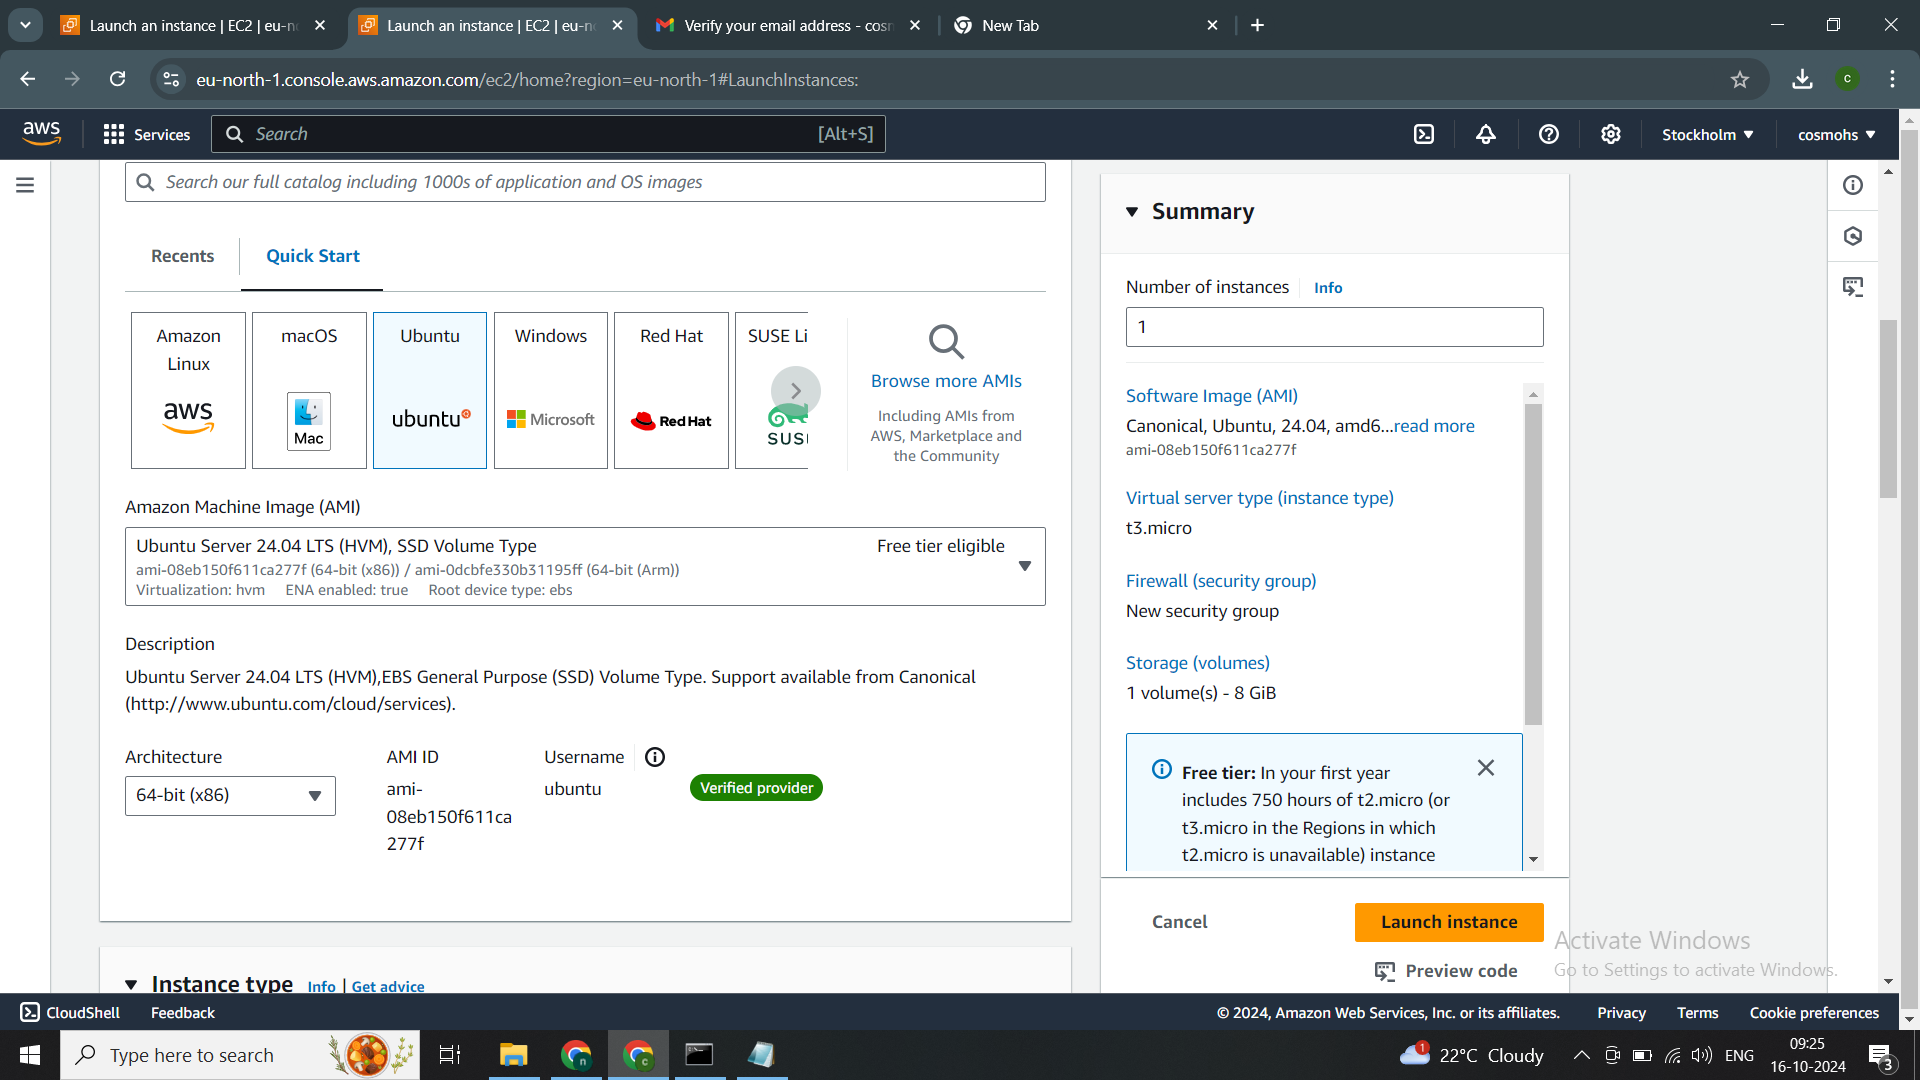
Next, set up a security group in AWS by configuring SSH, HTTP, and HTTPS access for the Ubuntu 24.04 instance. Also, configure the storage settings for the AWS instance. Once everything is set, click the "Launch" button. The instance will be launched shortly, so wait for about 2 minutes for it to fully configure.

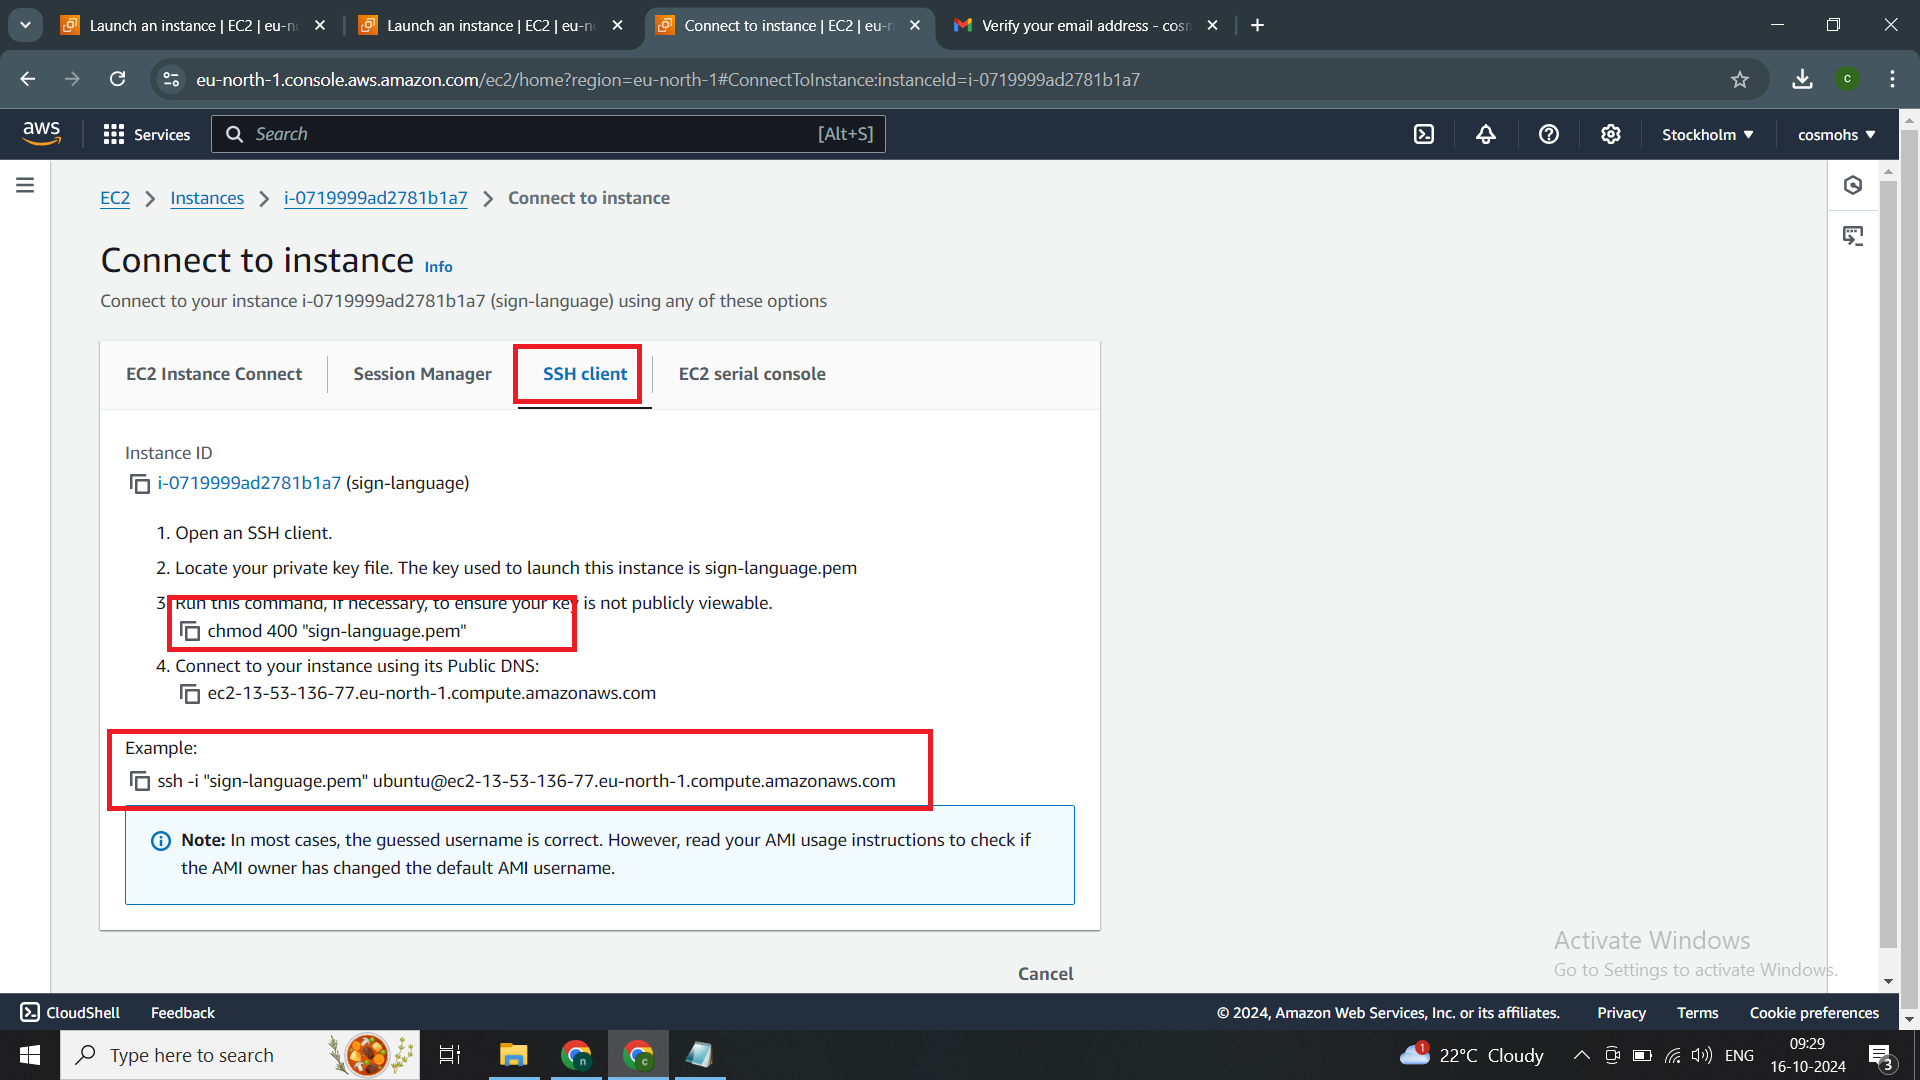
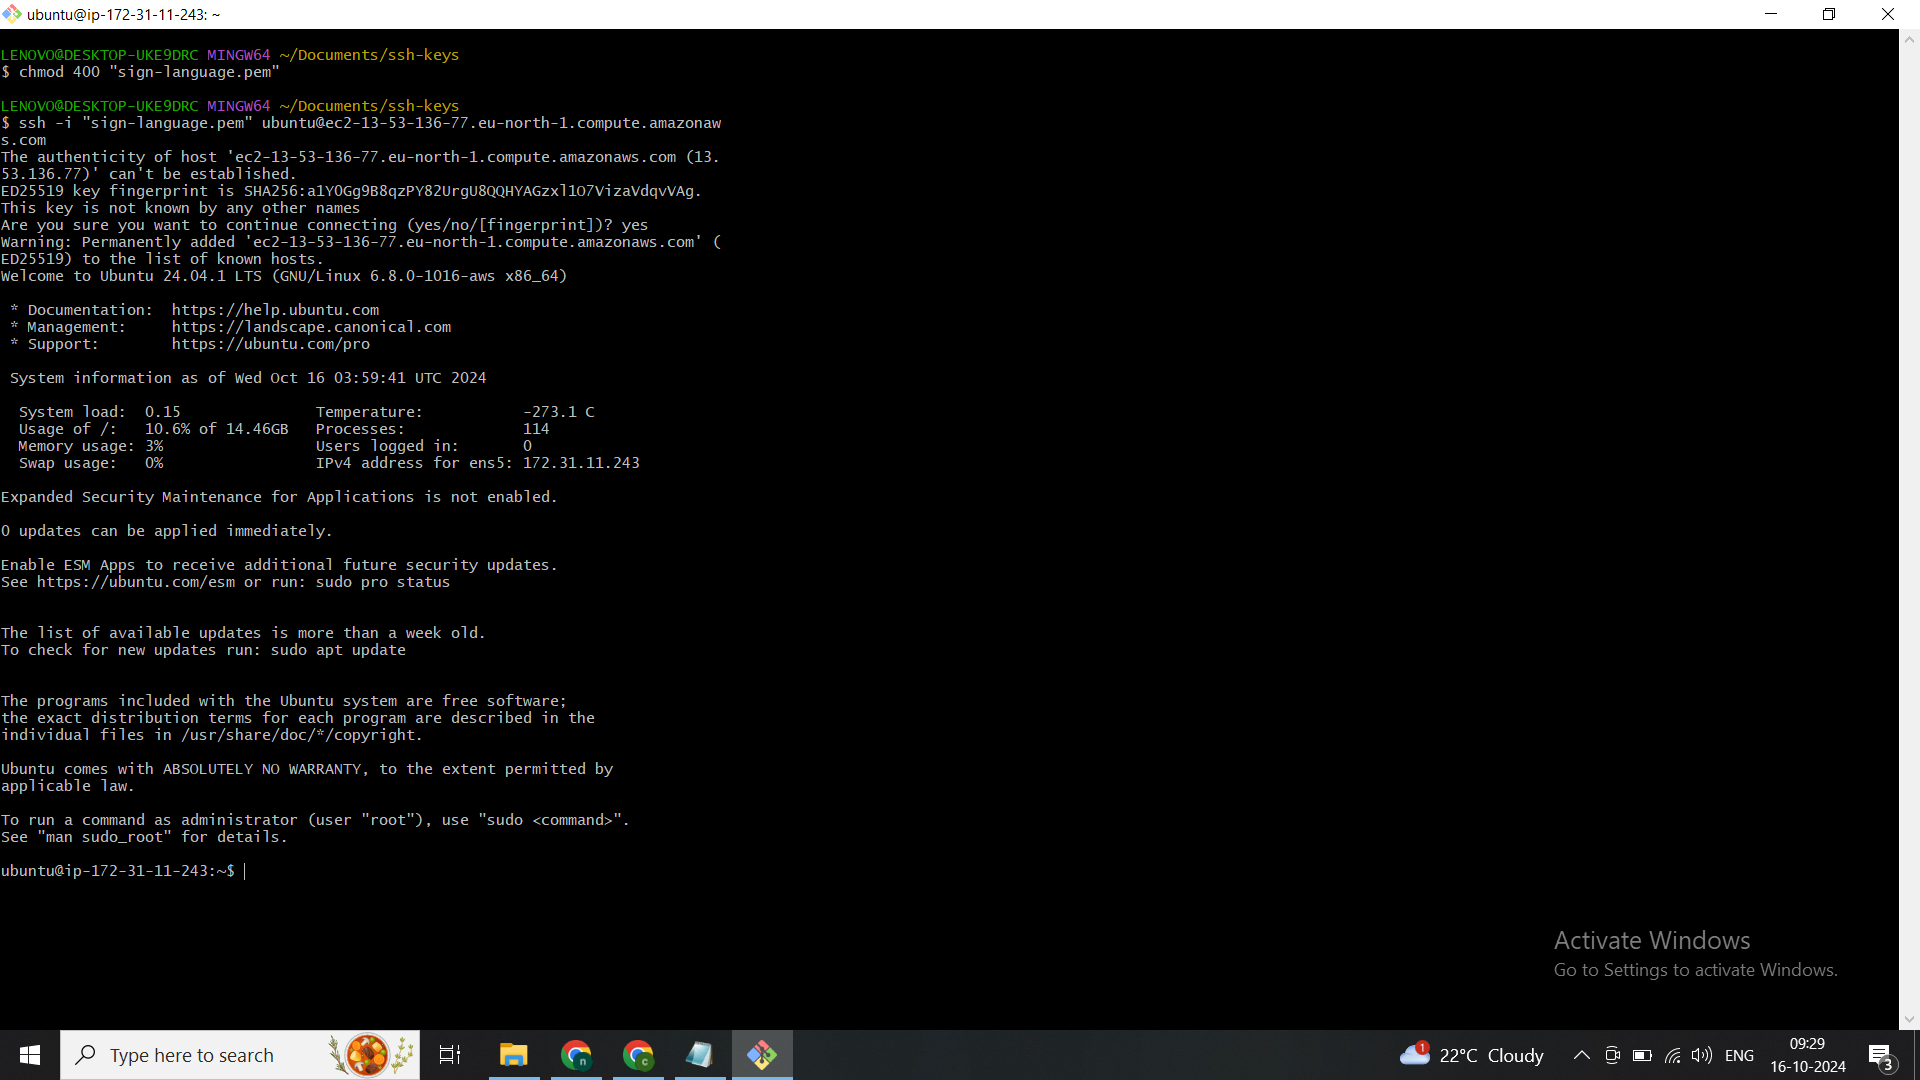
After the instance is launched, click on "Connect" and navigate to the SSH client section. We will connect using the PEM key with a Git Bash terminal. Copy the commands provided in the SSH client tab for the AWS instance.
Step 2: Connect to the Ubuntu EC2 instance via SSH
Once the EC2 instance is up and running, you can connect to it via SSH using the private key you downloaded earlier.
1. Open a terminal window and update the permissions of the private key file with the command:
chmod 400 <path-to-key-file>
For example:
chmod 400 ~/Downloads/my-aws-key.pem
2. The key must not be publicly viewable for SSH to work.
3. Copy the "Public DNS (IPv4)" property from the instance description tab in the AWS Console.
Connect to the instance from the terminal window using the command:
ssh -i <path-to-key-file> ubuntu@<domain-name>
For example:
ssh -i ~/Downloads/my-aws-key.pem ubuntu@ec2-52-221-185-40.ap-southeast-2.compute.amazonaws.com
4. When prompted with "Are you sure you want to continue connecting (yes/no)?", enter yes to add the URL to your list of known hosts.
Next, Open the folder where you stored the private key file. Check the instance details and click on the "Connect" button in the top left corner to find the SSH connection information for the Ubuntu OS.
Then, open Git Bash in that folder and use the following command to connect to your AWS Ubuntu instance via SSH:
ssh -i <path-to-key-file> ubuntu@<public-dns>
Replace <path-to-key-file> with the name of your PEM file and <public-dns> with the Public DNS (IPv4) address of your instance.
3. Cloning projects under the Ubuntu 24.04 OS in Amazon EC2
To clone the Node.js and MongoDB API project into the Ubuntu 24.04 server, use the following command:
git clone https://github.com/Easenotes/deploy-mern-state-application-in-aws-ec2-ubuntu-24.04.git
This will copy the project files into your current directory on the server.
4. Set up a server with Node.js and MongoDB in Amazon EC2. Ubuntu 24.04 Server
Learn how to install Node.js and npm on an Ubuntu AWS server - LINK
Learn how to install MongoDB on an Ubuntu AWS server - LINK
5. Set up and install all of the packages in the clone project in EC2.
To install packages for your project, follow these steps:
Install server-side packages: Navigate to the repository directory and install the necessary packages:
cd <repo-name>
sudo npm install
Install client-side packages: Navigate to the client folder, install the packages, and build the project:
cd <client-folder>
sudo npm install
sudo npm run build
If you encounter a "permission denied" error during the build, run the following command to adjust permissions:
sudo chmod +x node_modules/.bin/react-scripts
After adjusting permissions, you can start the server:
sudo npm start
Make sure to replace <repo-name> and <client-folder> with the appropriate directory names.
Step 6: Change the proxy server in server.js on the Ubuntu 24.04 server.
First, navigate to the client folder:
cd <client_foldername>
Then, open the package.json file using a text editor:
sudo nano package.json
Update the proxy server URL to http://127.0.0.1:5000, then save the changes by pressing Ctrl + X, followed by Y, and then Enter.
7: Install PM2 and Run It on Both Server and Client in AWS EC2
PM2 is a daemon process manager that helps you manage and keep your application online. Getting started with PM2 is straightforward, as it can be installed via NPM.
Install PM2 Globally:
sudo npm install -g pm2
Start PM2 on the Server Side of the MERN Stack: Navigate to your server directory and start the server:
cd <repo_name>
pm2 start server.js
Start PM2 on the Client Side of the MERN Stack: Navigate to your client directory and start the client:
cd <client_folder>
pm2 start --name <repo_name> npm -- start
Alternatively, you can use:
pm2 start "npm start"
To Stop PM2: List the running processes:
pm2 list
Stop a process by its ID (for example, if the ID is 0):
pm2 stop 0
Managing Application State in PM2 (Optional): Here are some commands to manage your applications:
sudo pm2 restart app_name
sudo pm2 reload app_name
sudo pm2 stop app_name
sudo pm2 delete app_name
This setup ensures your MERN stack applications are managed efficiently and remain online.
Step 8: Test your new MERN Stack application running in AWS.
- To access and test your new MERN stack application, use a browser and enter the hostname of your AWS EC2 instance.
- The hostname is the "Public DNS (IPv4)" property on the instance description tab of the AWS Console.
- Open the public IP address in the instance and use the port number http:// 52.66.206.221:3000 to retrieve.
9 : Setting Up Nginx as a Reverse Proxy Server On MERN Applications:
Learn how to step up nginx on an Ubuntu 24.04 AWS server - LINK
Deploying a MERN application on an AWS EC2 instance provides a scalable and reliable environment for your web apps. Following the procedures indicated below will ensure that your application is not only accessible but also secure and performance-optimized. With the flexibility that AWS provides, you can simply manage resources and extend your application as your user base increases. Whether you're an experienced developer or just getting started, mastering the deployment process will allow you to bring your projects to life and give valuable services to your users.
To learn more about cloud deployments and management, consider browsing AWS's extensive documentation and resources.